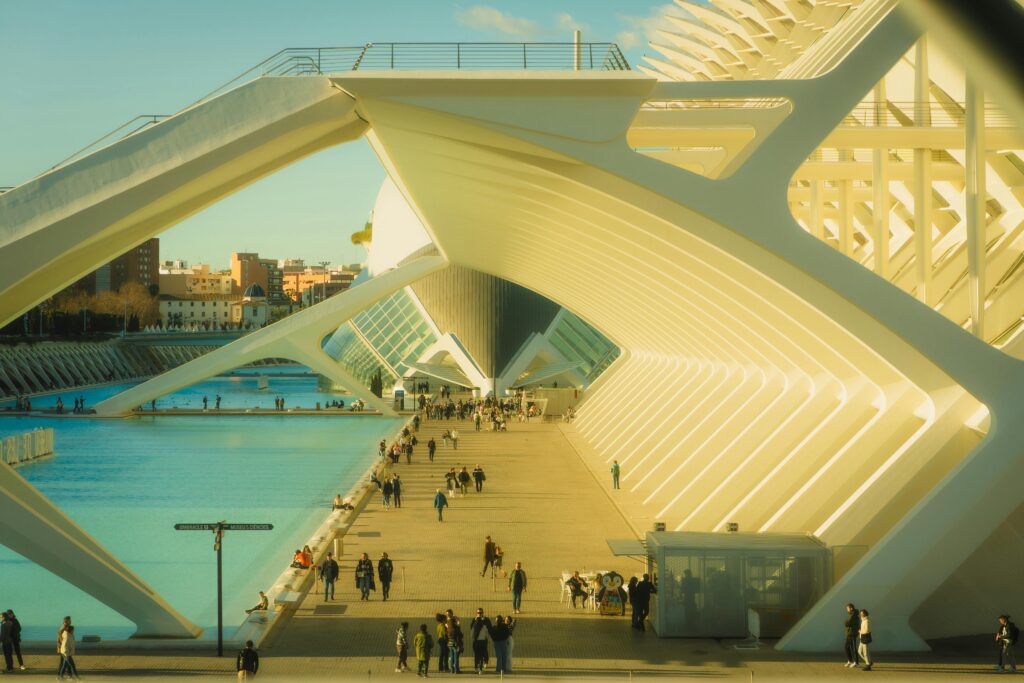
Capturing the perfect travel photo is about more than just the right location or camera—it’s about harnessing the power of light. Among all the lighting conditions, nothing compares to the enchanting glow of the golden hour. For photographers, both amateur and professional, understanding and using golden hour light can transform ordinary scenes into extraordinary images. This guide will teach you how to recognize, plan for, and make the most of golden hour magic, ensuring your travel photos are always bathed in the most flattering, captivating natural light.
What Is the Golden Hour?
The golden hour refers to the period shortly after sunrise and just before sunset when the sun is low in the sky. During these times, sunlight travels through more of the Earth’s atmosphere, scattering blue light and allowing warm red, orange, and yellow tones to dominate. The result is a soft, diffused light that flatters subjects, enhances colors, and adds a magical quality to landscapes, portraits, and cityscapes.
Key characteristics of golden hour light:
- Warm, golden tones
- Soft shadows and gentle highlights
- Low contrast, reducing harsh lines and squinting
- Enhanced textures and depth
Why Golden Hour Is Perfect for Travel Photography
- Flattering for portraits: Soft light smooths skin and reduces harsh shadows.
- Rich, vibrant colors: Warm hues make landscapes, architecture, and even food look more appealing.
- Dramatic skies: Sunrises and sunsets often bring colorful clouds and atmospheric effects.
- Enhanced mood: Golden hour light evokes feelings of nostalgia, romance, and tranquility.
- Longer shadows: Creates depth and dimension, making photos more dynamic.
How to Plan for Golden Hour
1. Know the Timing
Golden hour doesn’t last long—typically 30 to 60 minutes after sunrise and before sunset, depending on your location and the time of year. Use weather and photography apps to check the exact times for sunrise and sunset at your destination.
2. Scout Your Location in Advance
Visit your chosen spot earlier in the day to find the best angles, backgrounds, and compositions. Note where the sun will rise or set, and how it will interact with your subject.
3. Arrive Early and Stay Late
Arriving 15–30 minutes before golden hour begins gives you time to set up and experiment. Stay until the sun has fully set or just after sunrise to capture changing light and colors.
4. Check the Weather
Clouds can enhance or obscure golden hour effects. A partly cloudy sky often leads to the most dramatic light, while heavy overcast may mute the colors.
Camera Settings and Gear for Golden Hour Photography
1. Camera Mode
- Manual or Aperture Priority: Gives you control over exposure and depth of field.
- ISO: Keep ISO low (100–400) to reduce noise. Increase only if needed as light fades.
- Aperture: Use a wide aperture (f/2.8–f/5.6) for portraits and a narrower one (f/8–f/11) for landscapes.
- Shutter Speed: Adjust to avoid blur, especially as light decreases. Use a tripod for slower speeds.
2. White Balance
Set your white balance to “Daylight” or “Cloudy” to preserve warm tones, or shoot in RAW for more flexibility in post-processing.
3. Use a Tripod
A tripod is invaluable for sharp images in low light, long exposures, or HDR shots. It also allows for creative techniques like bracketing and panoramas.
4. Lens Choices
- Wide-angle lenses: Ideal for landscapes and cityscapes.
- Portrait lenses (50mm, 85mm): Perfect for capturing people in golden light.
- Telephoto lenses: Great for compressing distant elements and isolating subjects.
Composition Tips for Golden Hour Travel Photos
1. Shoot Into the Light (Backlighting)
Position your subject between the camera and the sun for glowing edges, silhouettes, or lens flares. Backlighting adds drama and mood to portraits and landscapes.
2. Use Side Lighting
Let the sun illuminate your subject from the side to highlight textures, shapes, and contours—especially effective for architecture and nature shots.
3. Capture Reflections
Golden hour light on water creates stunning reflections. Look for lakes, rivers, or even puddles to double the impact of your scene.
4. Include Foreground Elements
Add depth and interest by framing your shot with trees, rocks, or architectural details in the foreground.
5. Play with Shadows
Long, soft shadows can lead the viewer’s eye through the frame or create interesting patterns on the ground.
Creative Techniques for Golden Hour Photography
1. Silhouettes
Expose for the sky and let your subject fall into shadow for bold, graphic images. Silhouettes work especially well with recognizable shapes—people, trees, animals, or landmarks.
2. Sunbursts and Star Effects
Partially block the sun behind an object and use a small aperture (f/16 or higher) to create a sunburst effect.
3. Lens Flare
Embrace or control lens flare by adjusting your angle or using a lens hood. Flare can add a dreamy, ethereal quality to your images.
4. HDR and Bracketing
Capture multiple exposures and blend them to balance highlights and shadows, especially in high-contrast scenes.
Golden Hour for Different Travel Subjects
1. Landscapes
- Position yourself to capture the sun rising or setting over mountains, valleys, or coastlines.
- Use leading lines—trails, rivers, fences—to guide the viewer’s eye.
- Include people or objects for scale.
2. Cityscapes
- Shoot from rooftops, bridges, or waterfronts for panoramic views.
- Capture the transition from day to night as city lights begin to glow.
- Look for reflections in glass buildings or water.
3. Portraits
- Place your subject with the sun behind or to the side for soft, flattering light.
- Use open shade or a reflector to fill in shadows on faces.
- Capture candid moments as people interact with the environment.
4. Wildlife and Nature
- Early morning and late evening are when many animals are most active.
- Use long shadows and warm light to highlight fur, feathers, or foliage.
Editing Golden Hour Photos
- Enhance warmth: Boost the orange and yellow tones to emphasize the golden glow.
- Adjust exposure: Recover highlights and lift shadows to balance the image.
- Increase contrast and clarity: Make details pop without losing the soft feel.
- Crop and straighten: Refine your composition and remove distractions.
Common Mistakes and How to Avoid Them
- Arriving too late: Golden hour is brief—plan ahead and be ready.
- Overexposing highlights: Use exposure compensation or manual controls to preserve detail in bright areas.
- Ignoring the foreground: Include elements close to the camera for depth.
- Forgetting to clean your lens: Dust and smudges are more noticeable in direct light.
Planning Your Golden Hour Travel Shoots
- Research sunrise and sunset times for your destination.
- Scout locations in advance, considering where the sun will rise or set.
- Pack light, portable gear for quick setup and movement.
- Dress for changing temperatures—golden hour can be chilly, especially at sunrise.
- Be patient and flexible—sometimes the best light appears just as you’re about to leave.
Final Thoughts: Let the Golden Hour Tell Your Travel Story
Golden hour is nature’s gift to photographers—a fleeting window when the world is bathed in magic. By planning ahead, understanding light, and experimenting with composition, you can capture travel photos that glow with warmth, emotion, and unforgettable beauty. Whether you’re shooting landscapes, cityscapes, portraits, or wildlife, let the golden hour inspire you to see every destination in a new light.
What’s your favorite golden hour travel photo? Share your tips and stories in the comments to inspire fellow photographers to chase the light!


